This article is for:
Before you order a terminal, you need to make sure you have TimelyPay setup in Timely. This makes sure that you have a Stripe account to process the payment, and your account details for your payouts. If you already have TimelyPay setup move straight to this step.
Step-by-step instructions
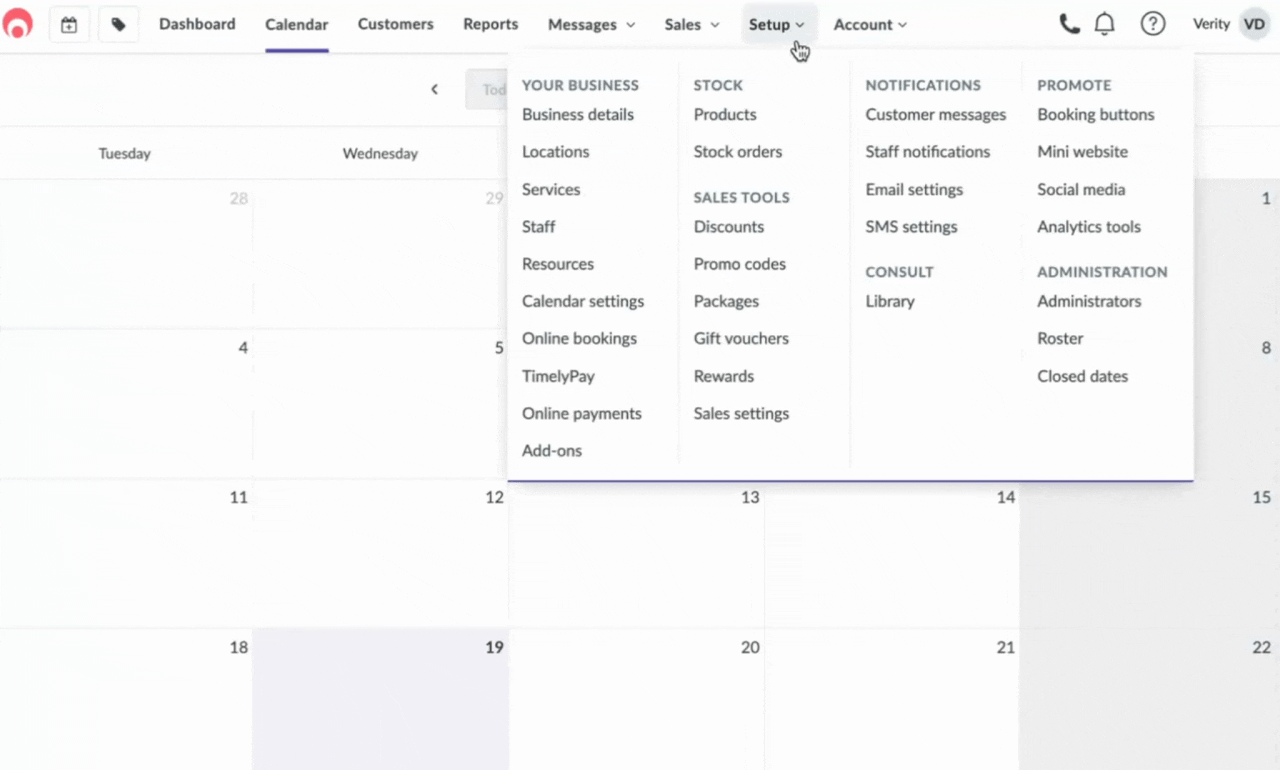
1 Click Setup and select Timely Pay.
2 Click on Set up Timely Pay in the top banner.

3 Choose whether you want to take a payment when clients book online.

4 Select your business type.

5 You'll be redirected to Stripe to set up your payment information. You'll need to have:
a proof of identity
a proof of address
a bank account number
a mobile phone with you

6 Click Verify my details in stripe.

7 Enter your email address.

8 Add your phone number.

9 A verification code will be sent to your mobile number. Enter that code.

10 Enter your personal details:
Your legal name
Email address
Date of birth
Home address
Phone number

11 Select your industry.

12 Add your website address.

13 If you don't have a website, click No URL.

14 Add the bank account number you want payments to come through to.

15 Review your details to ensure they're correct, then click Agree and submit.

16 You'll receive a success message once your details have been verified.

17 You'll be taken back to Timely. Once your details are verified, you'll see a success message here.

18 Yay! Now you're ready to order a terminal.
Terminal setup guide
2. Choose which terminal to set up
3. Choose a device to connect with your touchscreen terminal
Good to know
Our TimelyPay terminals are currently supported in Australia, New Zealand, United Kingdom, and the United States. If it's not available in your country and you're interested in getting a terminal, reach out and let us know.