This article is for:
You can use statuses in Timely to track your client through stages of their appointment. From unconfirmed to completed, this can be useful when your salon is busy and you need to take a quick glance to understand where different clients are at.
In this guide you'll learn update their status to:
Change the status to confirmed
1 Click on the unconfirmed appointment. You can quickly see it's unconfirmed as the whole appointment box has diagonal stripes.

2 Select Edit.

3Change the status to Confirmed.

After confirming the appointment, the diagonal stripes disappear.

Change the status to Arrived
1 Click on the client's appointment and select Edit.

2 From the dropdown menu next to the tick icon, change the status to Arrived.

3 Click Save.

The appointment status now displays an icon showing the client has arrived and the colour on the left hand side now has diagonal stripes.

Change the status to Started
1 Click the appointment

2 From the dropdown menu next to the tick icon, change the status to Started.

3 Click Save.

Change the status to Completed
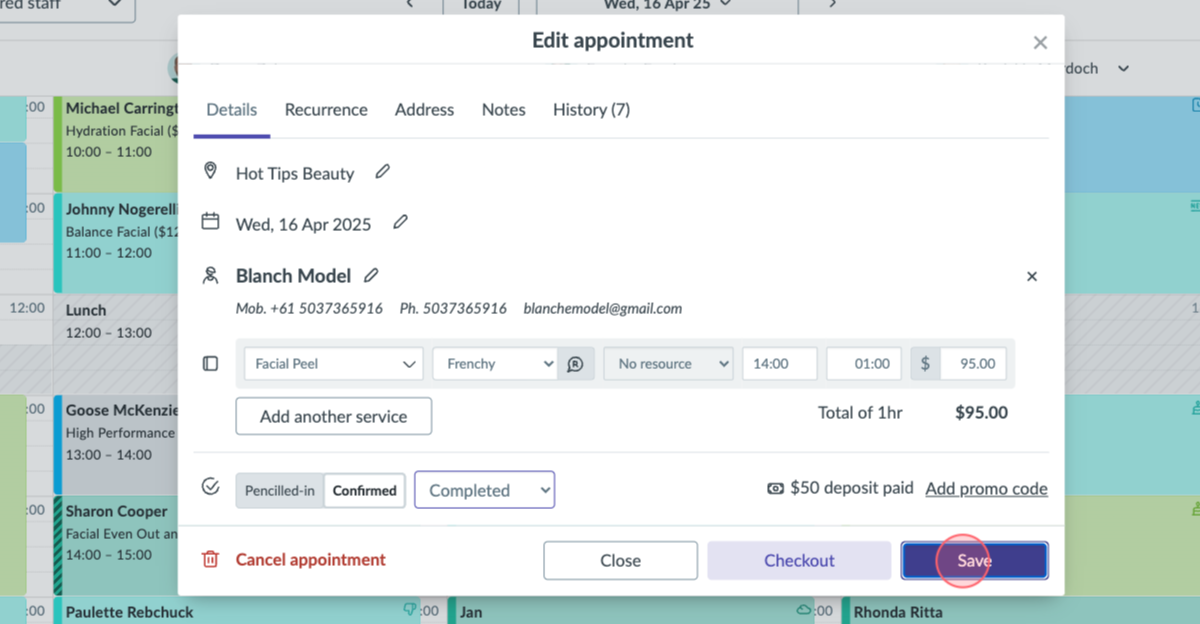
1 When the appointment is complete, click the appointment and click Edit.

2 From the dropdown menu next to the tick icon, change the status to Completed.

3Click Save.

The completed appointment is greyed out and the icon in the top right corner is marked with a tick icon.

Change the status to Did not show
When a client doesn't arrive for their appointment, it's a good idea to keep a record of it by updating their status. That way you know which clients are reliable and which ones are more likely to not turn up.
1 Click the appointment and click Edit.

2 From the dropdown menu next to the tick icon, change the status to Did not show.

3 Click Save.

The appointment is marked with a thumbs down icon in the top right hand corner.
