Timely doesn't have a feature for weekday specific services, however we do have three workarounds which may work for your business.
Timely's recommended option
Timely's recommended option
This workaround is recommended by us as it will have no impact on your reports, however, it's not 'fool proof' and requires a small amount of extra work from the business.
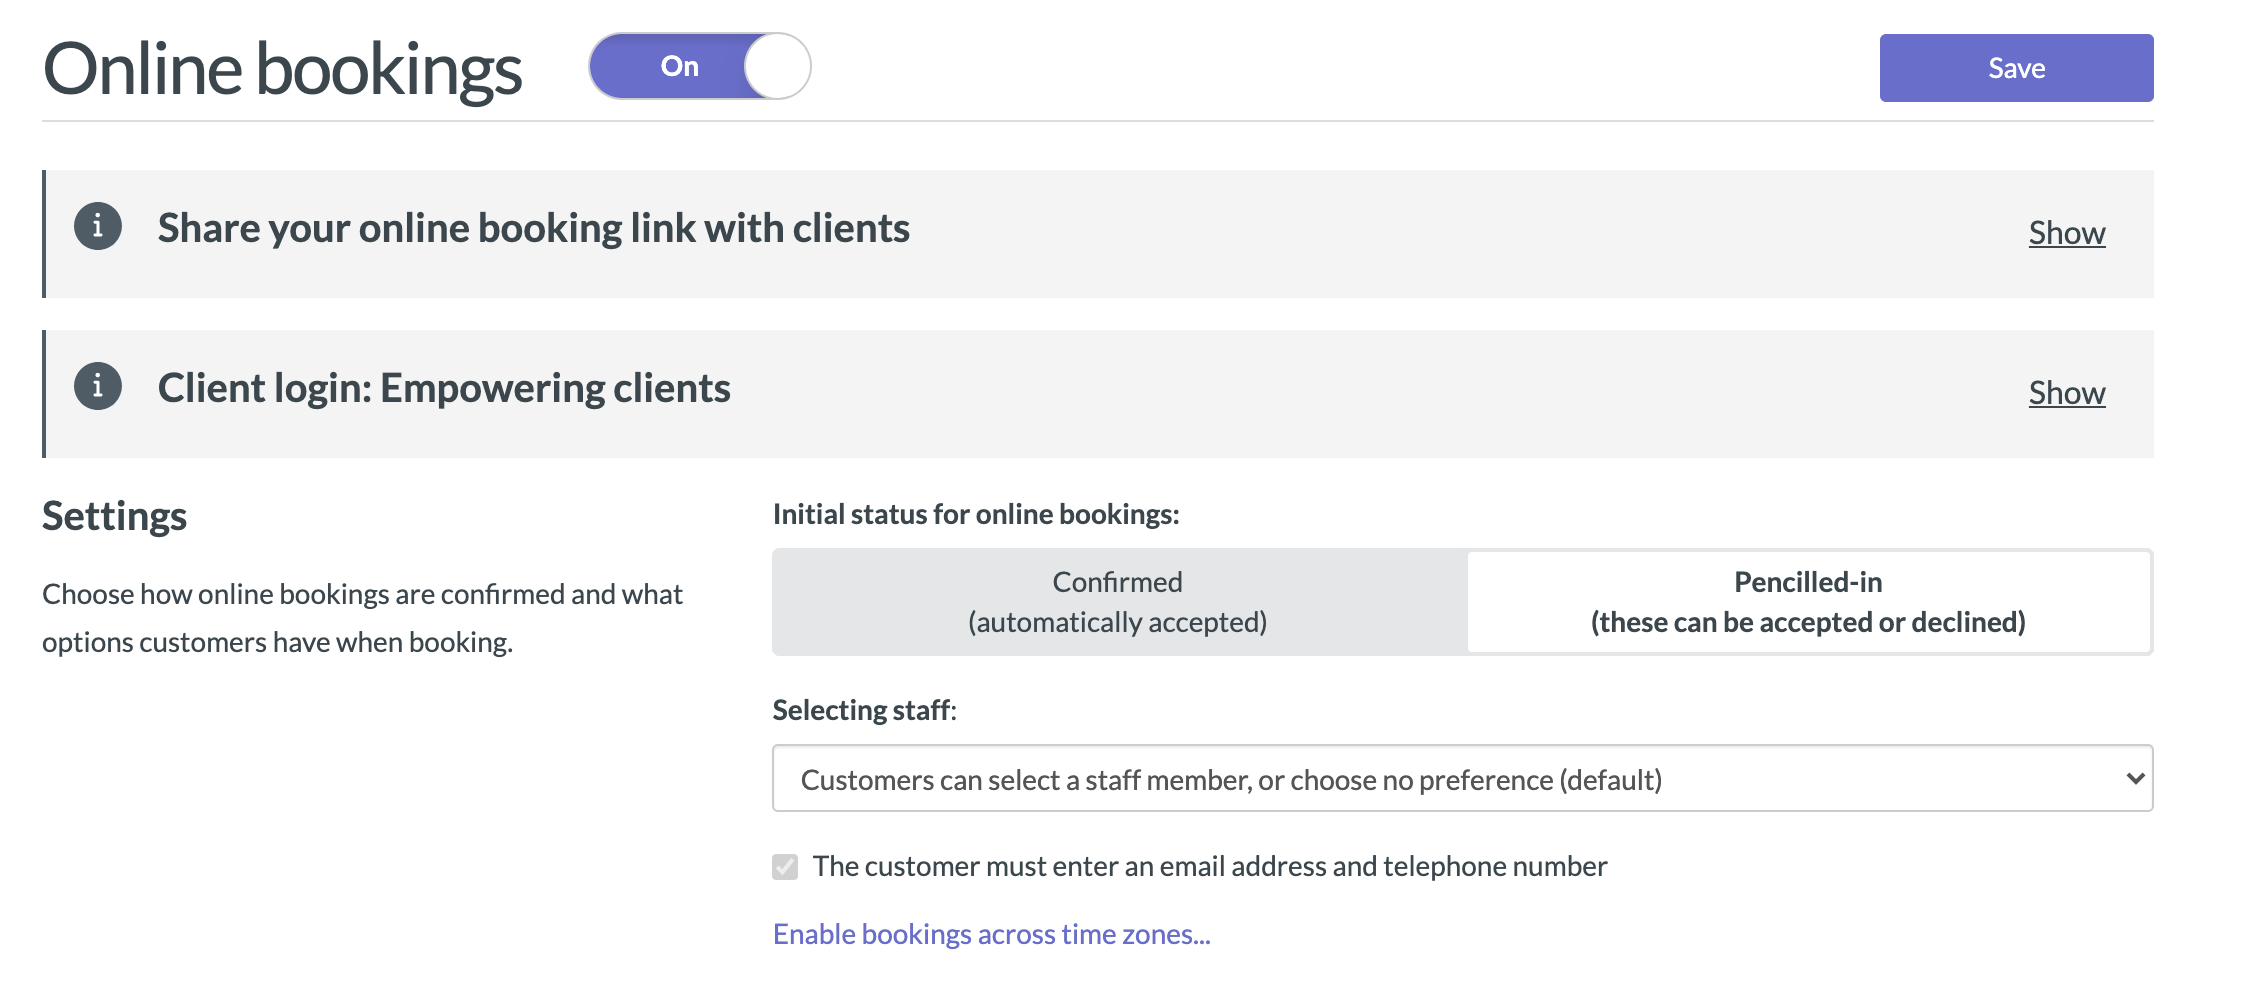
This workaround involves tuning on Pencilled-in bookings so that the business has the opportunity to reject or amend the booking if need be. The service also needs to be named clearly. E.g. 'Beauty Service (bookings on Wednesdays only)'
Step 1
Go to Setup > Online bookings and under 'Settings', choose 'Pencilled-in' bookings. Then click 'Save' 
Step 2
Go to Setup > Services and then click 'Add service'. When you create the service, name it clearly with the day of the week in the title, as well as information about the weekday specific service in the description. Then click 'Save'

Using a second location
To use this workaround you will need to use also use resources, this is how you will make sure that the services are linked to your second location and the days you have set them to be available.
Step 1
First you will need to set up your second location
- Head to Setup, Your Business and then Locations

- Click the Add Location button

- Add your business name and same location as your main business. In this example I have made it clear that the second location is for massage only.

- Next set the hours that you will be offering services at this location and then hit save

- You will now see both locations

Step 2
Now you need to add your working ours to this location.
- Go to Setup, Your Business and Staff

- Click edit on the staff member

- Under Normal working hours select your new location and add your working hours and then hit save

Step 3
Next you will need to set up resources for all your services.
- Head to Setup, Your Business and then Resources

- Click the Add Resource button

- You will then need to add 2 resources, one for each location.


Step 4
Now you can link these resources to the services.
- Head to Setup and then Services in Business Details

- Create or edit your services

- Under the Resource section select the resource that is correct for the location. You will need to do this for every service. In this example we are editing a Massage service so we are selecting the massage resource.

- Once you are done hit save and repeat this process for every service.

You will now have the option to switch between locations on your calendar view 
And this is how it will look on your online booking page 
Second Staff Member
Adding a second staff member is the other workaround you can use, this will incur charges to your account.
- Head to Setup, then Business Details and Staff

- Click Add New Staff

- Give the staff member a name that is related to the service you are selecting

- Next tick the services that you want to offer on your set days and hit save (make sure this is the only staff member to offer these services)

- Now you will have the option to set your working hours. Set these to the days you want to offer your services. Then hit save again

- You will now see both staff

You will be able to view both staff on the same page of your calendar 
When client book online they will see all your services as normal but when they book they will only see the days and times you have set