Once your resources are all set up alongside the services that require them, you are ready to start making bookings involving that resource!
In this guide we'll cover how to:
Select a resource when making a booking
- When you add an appointment to the calendar, you will see a column called Resource:

- If the service has more than one resource assigned to it, or the resource has more items, you can choose a different resource:

- Click Save to apply any changes.
Once you have followed the process above, a suitcase icon will indicate that there is a resource associated with that booking. You can see what resource it is on the appointment itself (if there is enough space) or on the popover you'll see if you click the appointment.

Note: When booking online, resources are automatically assigned to appointments. Similarly to staff availability, if a slot has no resource available, it will not show up for online booking.
If you have multiple items of one resource or the service can use multiple resources, these will continue to be assigned until the resource are all allocated for that time. Once all the resources are allocated, that service will no longer be bookable at that time.
Manage resource booking conflicts
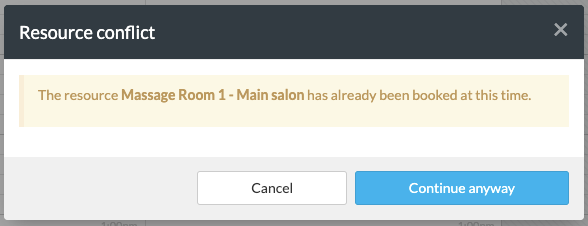
If a resource is already in use when you try to make a booking, you will be notified of this:

If you drag the appointment into a slot that causes a resource conflict, you will get the below message. You can choose to Cancel the change, or Continue anyway and double book the resource:
